CAD SESSION WEEK 10
- twoodUNI
- Mar 18, 2020
- 2 min read
Updated: Mar 27, 2020
In this session, we were introduced into setting up the Wacom drawing tablets display settings, in the coming future the Wacom drawing tablets will likely be a heavily used piece of equipment in my work.


We began by going into the display settings and making sure the Wacom was being registered and was ready to go. Next, open the Wacom desktop centre, we went over the touch buttons on the Wacom and shown which to use and not use. Next going into the gesture settings checking everything was in the correct mode, in this instance I didn't need to edit anything so I left it as is. Next going into the pen settings, reassigning the buttons on the Wacom pen to be button commands such and going back in the history on photoshop or acting as the undo feature so as to be able to undo brush strokes from the pen. Next calibrating the Wacom screen to ensure that it works properly. Finally, we were shown how to save all of the settings changes that we had just done to a file so that we can use them on any Wacom in the university.
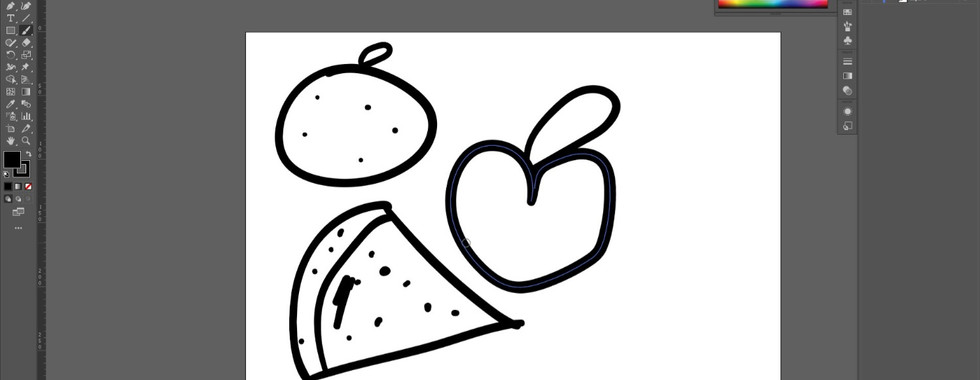
Our next step in the class as we were tasked with colouring in a tree using the Wacom computers, we searched for a sketch of a tree online, imported it into photoshop and then used the sketch enhancing techniques we had learned in the previous sessions to whiten the background and make the pencil lines more prominent.

Next, we duplicated the image of the tree and then created a drawing layer using the multiply feature, we coloured in the tree, this was not the easiest thing to get used to drawing on a screen and no pen and paper but after a few minutes of practice it did start to feel more natural. We were introduced to a wide variety of brushes that adobe photoshop has to offer. Craig showed us how to open the legacy brushes within photoshop that are hidden away after they streamlined the program, you can also access more brushes in the same settings area.


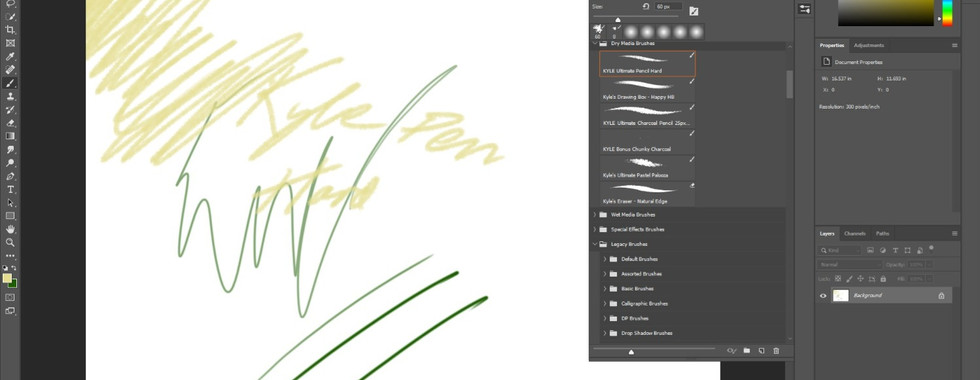
We were then asked to start a new canvas, using the soft round brush and then to try scribbling on the canvas trying out the pressure, next opening the window for brush settings, to then change the way that the soft round brush worked changing the size, hardness, spacing and style. We were also shown to use the kyle ultimate brush pencil pack but however during the class, we couldn't get it to work. We were also shown how to use the calligraphic brush tools and how to change the pressure, size and variation of the brush.


Overall I'm really pleased with how this session went I was able to practice using the Wacom tables as since joining the university I thought they seemed super interesting and useful so I was glad that I finally had a chance to be talked through properly on how to use them and ways to help improve my photoshop drawing skills. This session has definitely pushed my skills and given a whole range of new ones that I can use in future work.

Comments